
In high-level raid and Mythic+ encounters, Battle Resurrection (Brezz) is the single most powerful recovery tool available. Because it operates on a strict shared cooldown system, every use must be deliberate. The Efficient Use of Battle Rez functions as a true Strategic Lifeline, determining whether a group stabilizes after a mistake or collapses under permanent numerical disadvantage.
This expanded guide explains when to use a Brezz, when to hold it, how to calculate return on investment (ROI), and how elite teams prevent waste during critical phases.
Understanding the Battle Rez Economy
Battle Resurrection charges are limited by encounter rules and shared cooldown timers. In raid environments, the charge system regenerates slowly over time. In Mythic+, the number of available rezzes is fixed based on dungeon timer scaling.
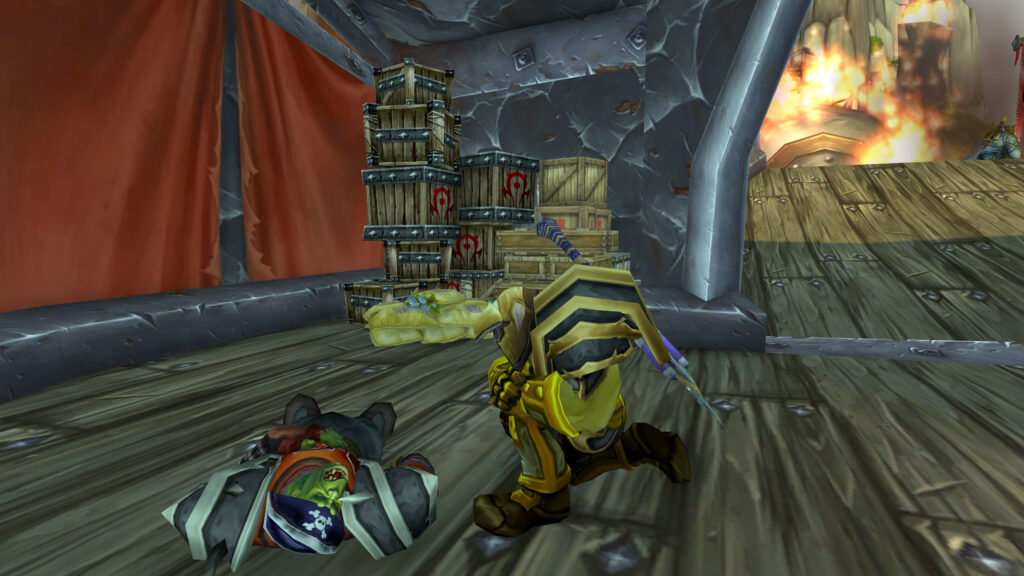
Because the resource is finite, each Brezz must restore either:
- Structural Stability (Tank/Healer survival)
- Critical Damage Output (meeting a DPS check)
- Essential Utility (interrupts, dispels, mechanics handling)
If a Brezz fails to secure one of these outcomes, it is effectively wasted.
Group Stabilization vs Numerical Disadvantage
Group Stabilization occurs when a Brezz restores the minimum structure needed for survival and forward momentum. This often means reviving a tank before a swap mechanic, or restoring a healer before a scheduled damage spike.

Irreversible Numerical Disadvantage happens when the Brezz is used on a low-impact target or during an unsalvageable moment, leaving the group without recovery tools later in the encounter.
Strategic Decision Hierarchy
Efficient Brezz use follows a strict priority order:
- Tank First: If tank death threatens immediate wipe and the Off-Tank cannot stabilize alone, Brezz immediately.
- Healer Second: If upcoming unavoidable damage exceeds healing capacity, Brezz healer.
- Utility Specialist: Sole interrupter, dispeller, or mechanic handler may take priority over raw DPS.
- High-Impact DPS: Only if kill threshold or phase push depends on their output.
Return on Investment (ROI) Assessment
| Scenario | ROI Level | Optimal Decision |
|---|---|---|
| Main Tank dies during active boss phase | Very High | Immediate Brezz to restore structure. |
| Top DPS dies at 12% boss HP | High | Brezz if damage check likely fails without them. |
| DPS dies early at 85% boss HP | Low | Hold Brezz; assess later failure points. |
| Healer dies during unavoidable raid-wide lethal damage | Very Low | Do not Brezz; likely immediate second death. |
Common Brezz Misuses
- Instantly rezzing without assessing upcoming mechanics.
- Rezzing during lethal environmental damage.
- Using Brezz on low-impact DPS early in the fight.
- Failing to coordinate who performs the resurrection.
Each misuse compounds risk later when the encounter enters its most dangerous phase.
Communication Protocol
Only one caller—usually Raid Leader or Tank—should authorize Brezz usage. The assigned rezzer confirms verbally before casting. This prevents double-rez overlap or panic usage.
Mythic+ Considerations
In Mythic+, Brezz timing affects key success directly.

Early reckless usage can leave the group without recovery for dangerous boss mechanics. Strategic holding often preserves the run.
Conclusion
The Efficient Use of Battle Rez is the defining Strategic Lifeline of progression content. By evaluating structural stability, role priority, and ROI before committing the cooldown, teams transform Brezz from a panic button into a calculated recovery instrument.
This discipline separates stabilized recoveries from irreversible numerical disadvantage and progression collapse.
Leave a Reply